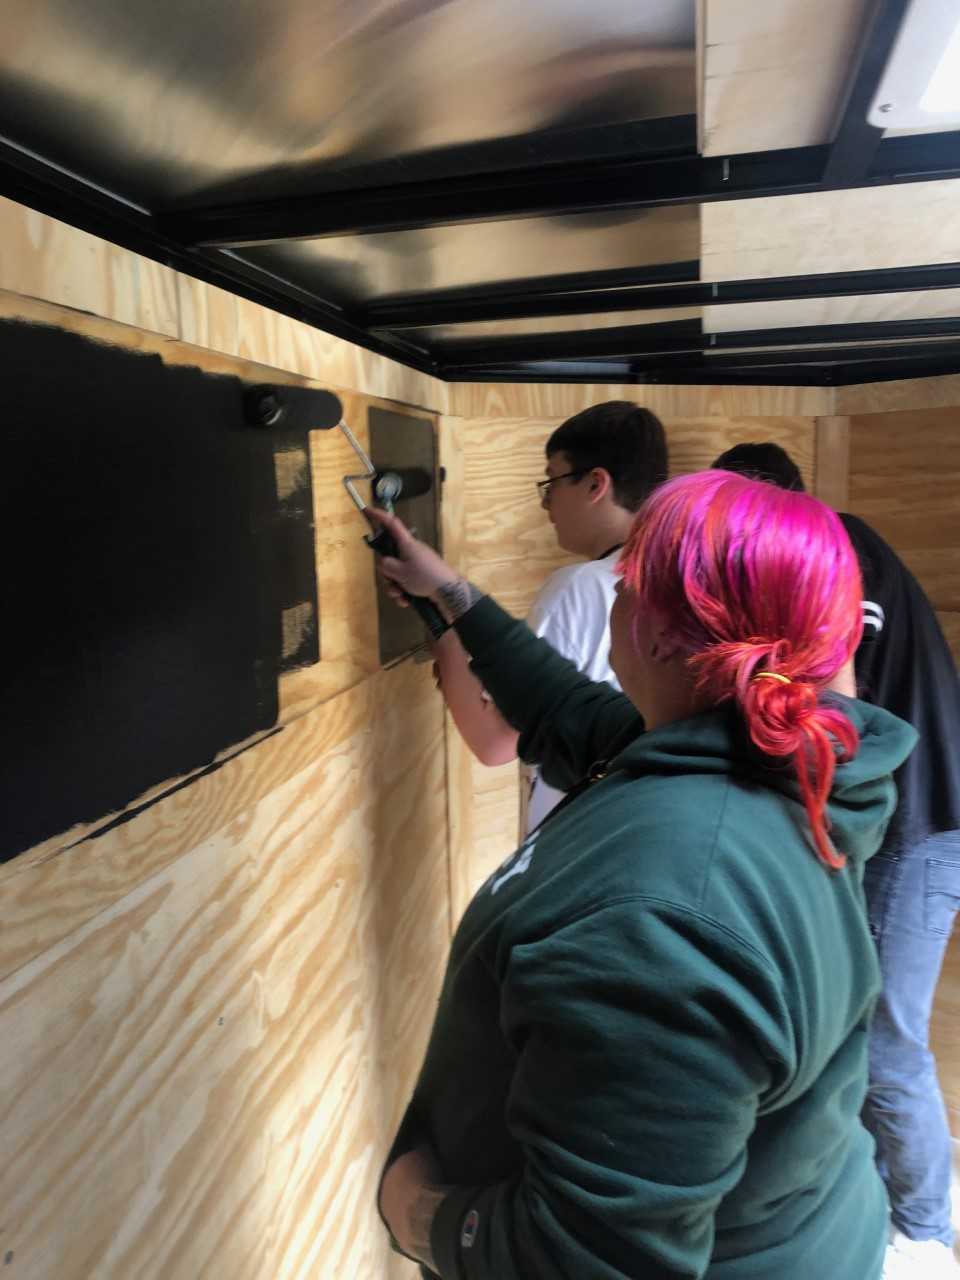
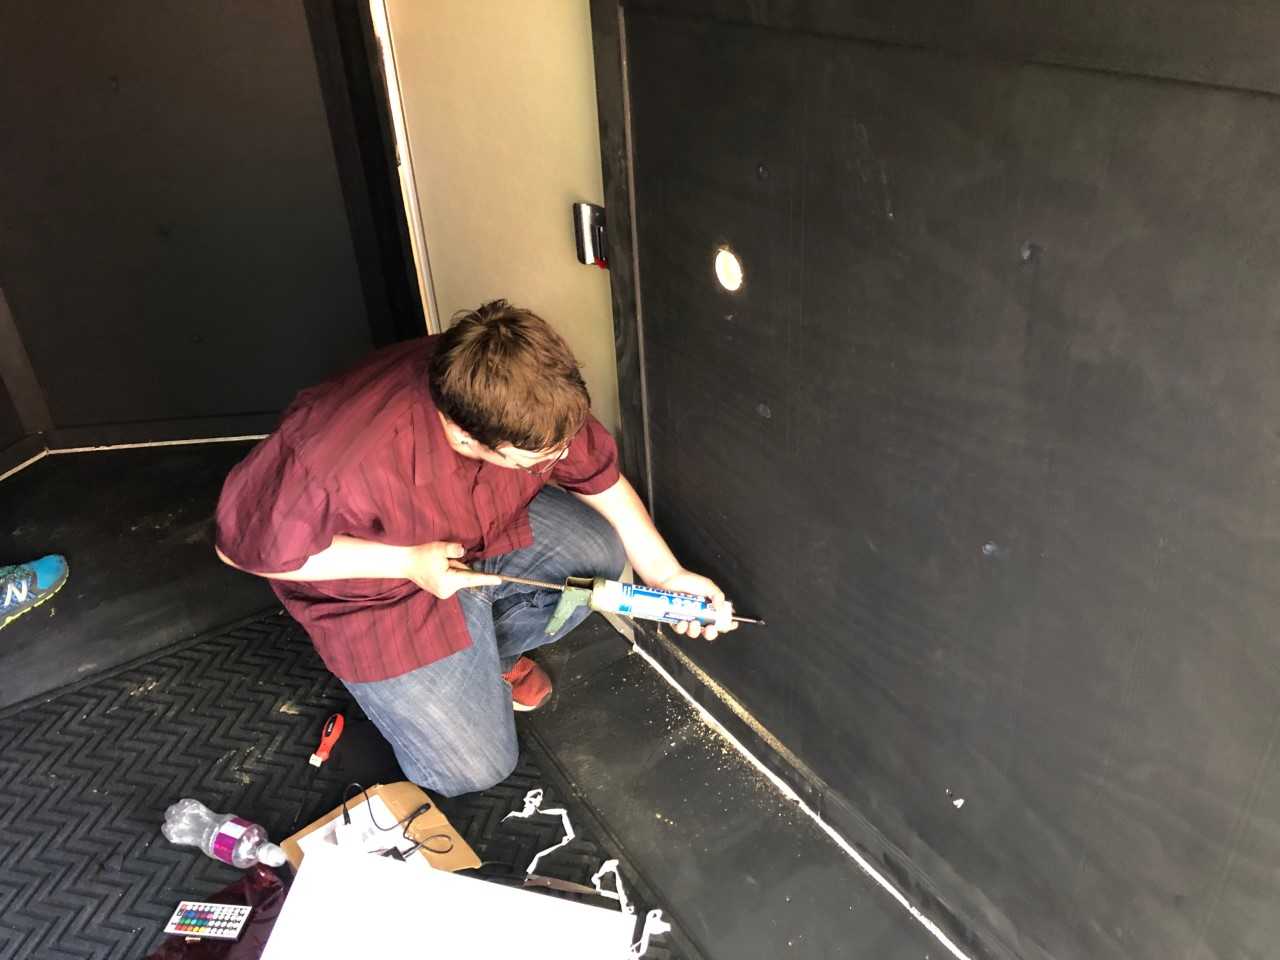
Making the Trailer Light Safe
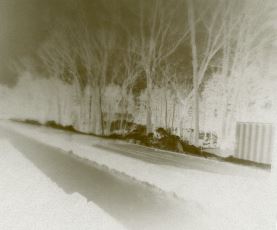
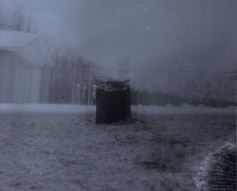
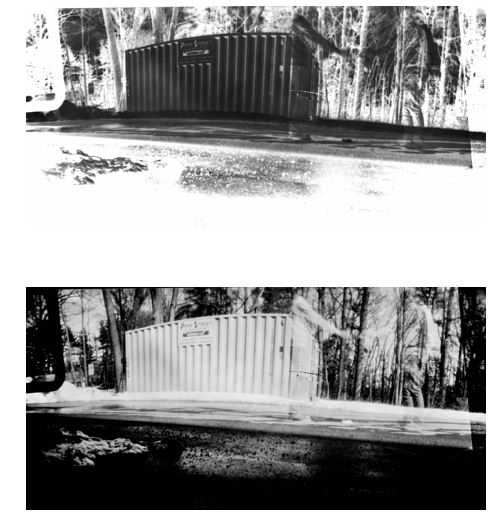
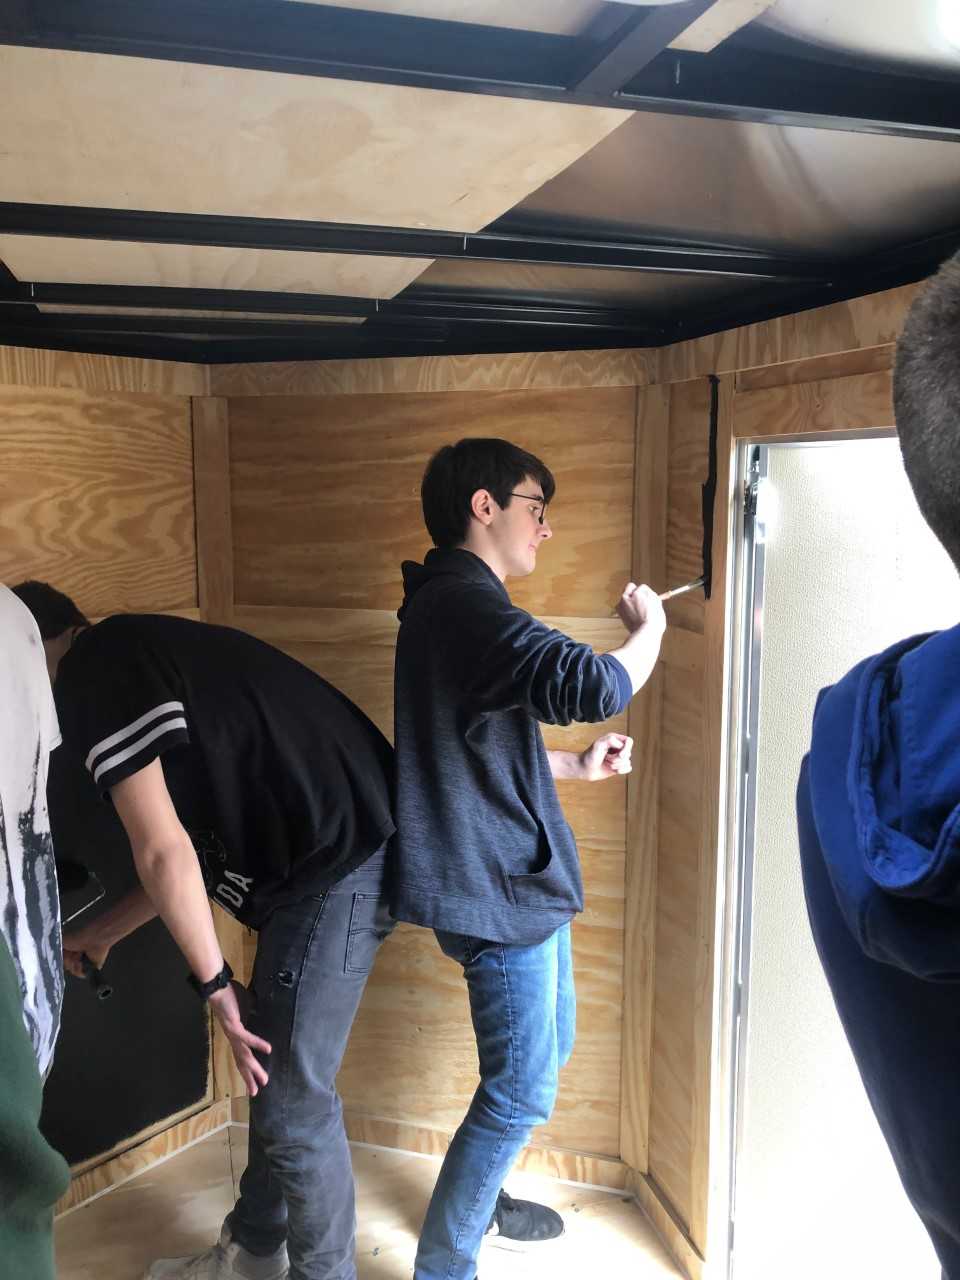
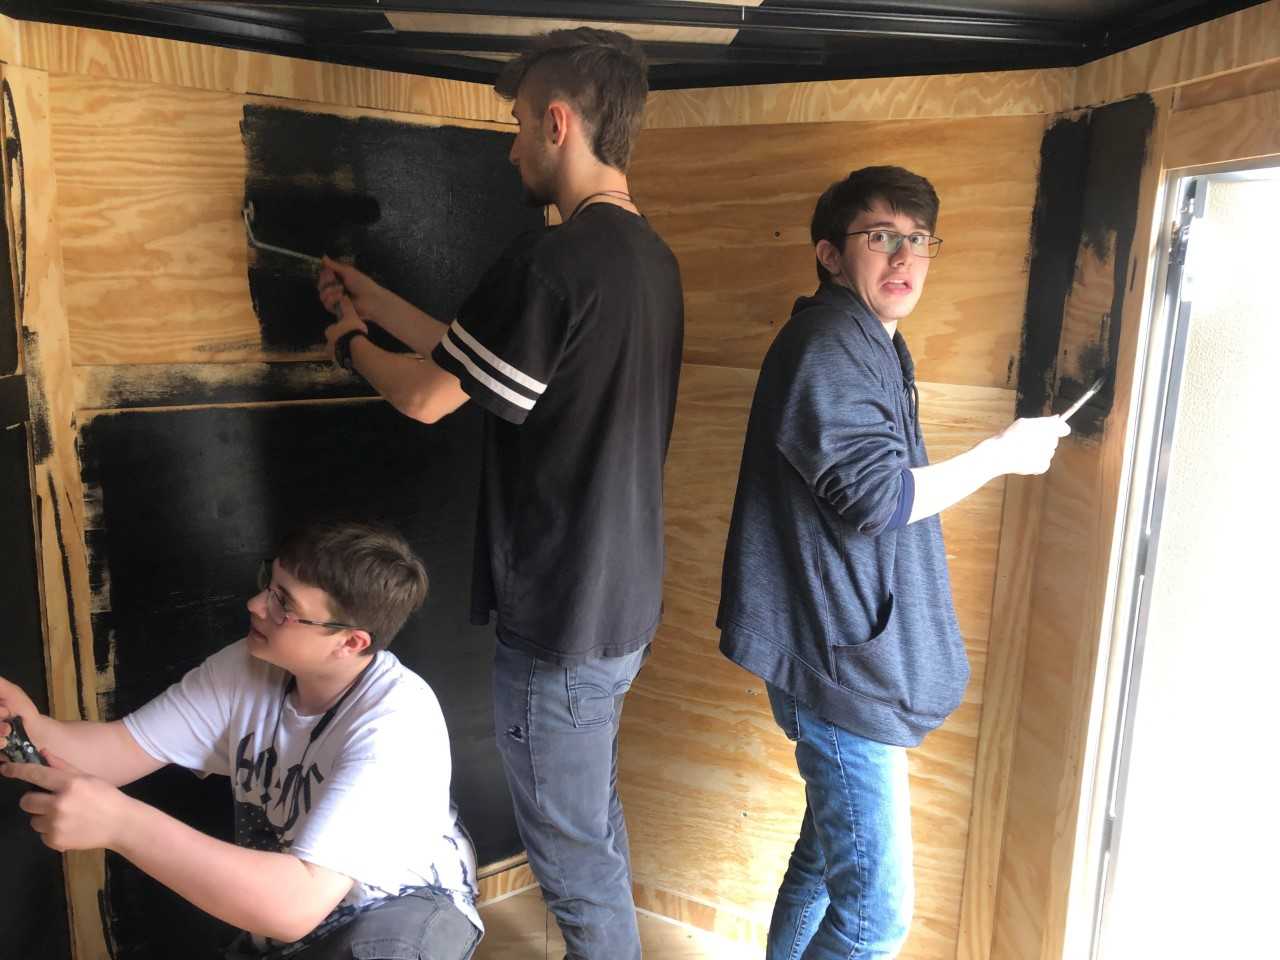
After researching a number of different options, including building our own trailer from the ground up, the students decided to purchase a trailer. Purchasing a trailer increases the safety (we don’t have to worry about it flying off of the frame when it is traveling) and allows the students to focus on the modifications needed to turn it into a camera. The trailer is 6 feet wide, 6 feet 3 inches tall, and 10 feet long, much larger than our original 5 foot, by 5 foot, by 8 foot design. Once the trailer was delivered, the first task was to paint the interior and caulk any light leaks with black silicone sealant.
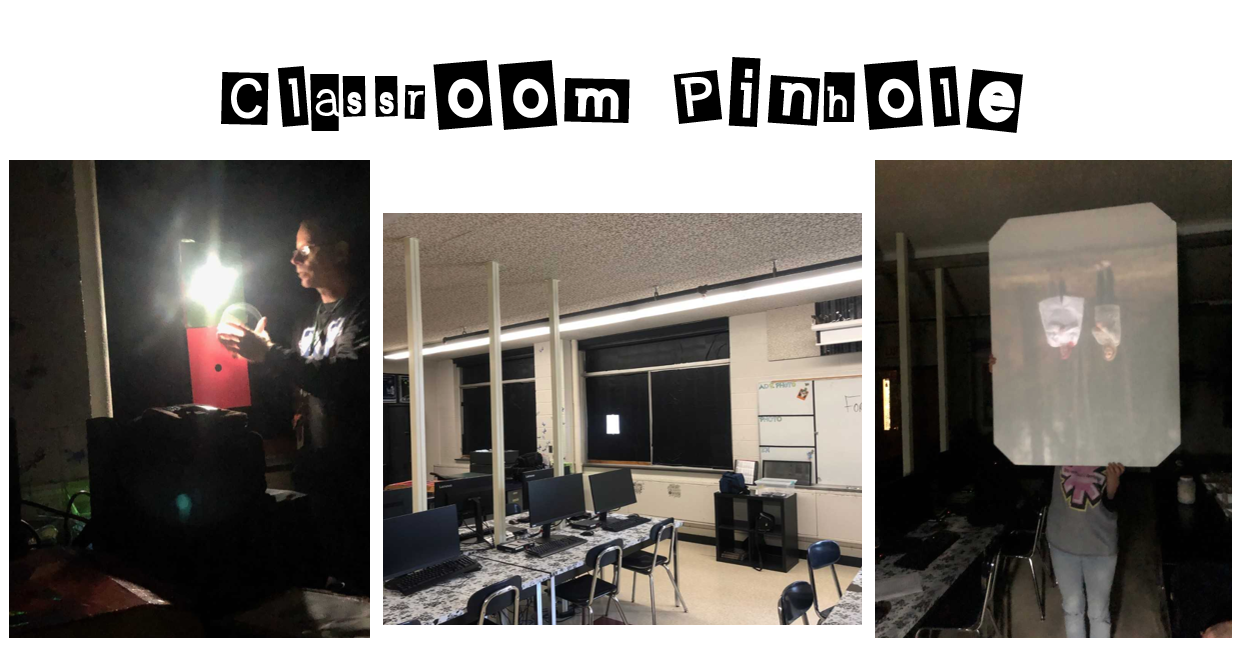
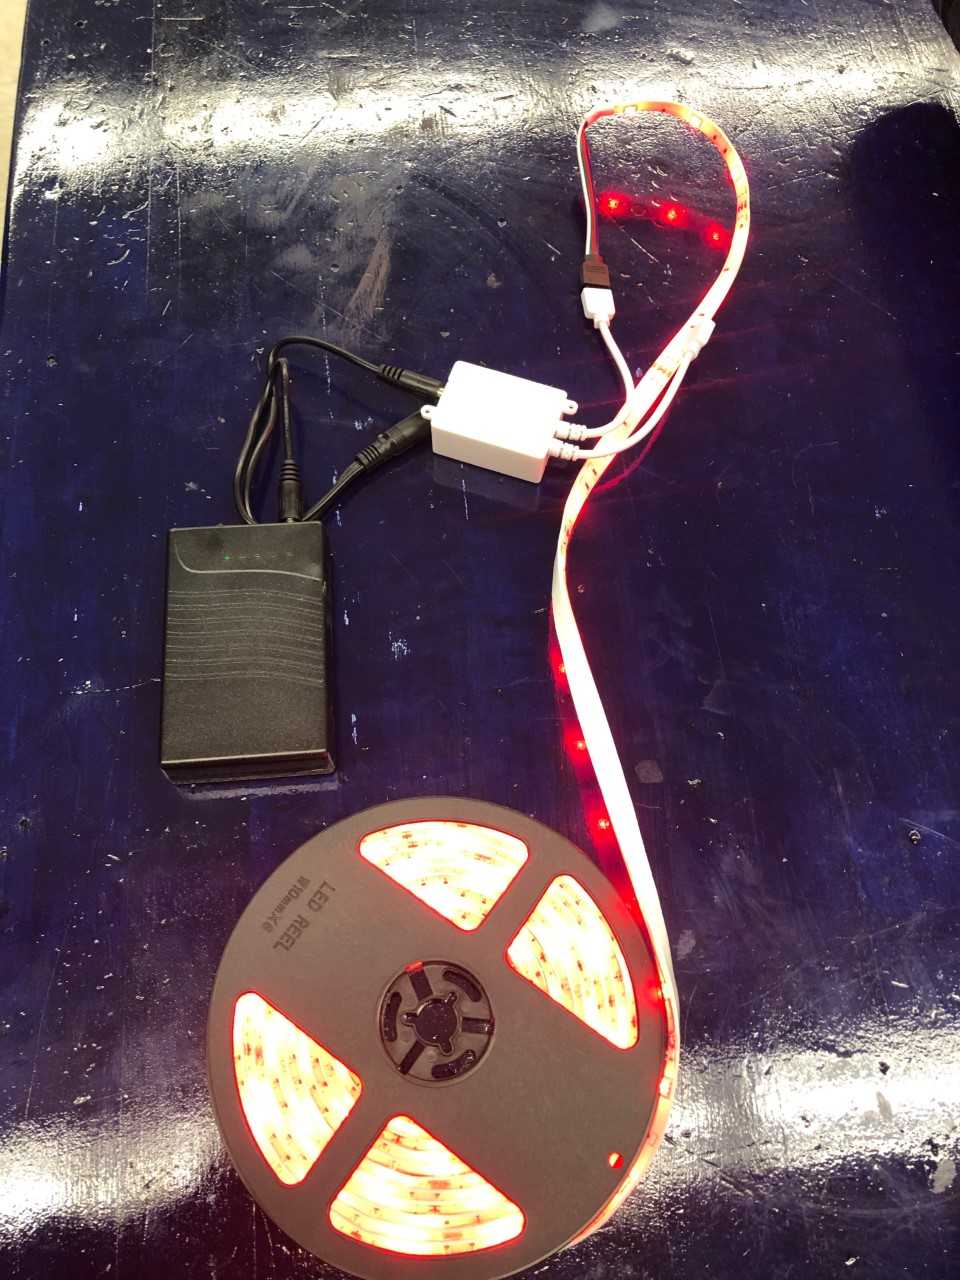
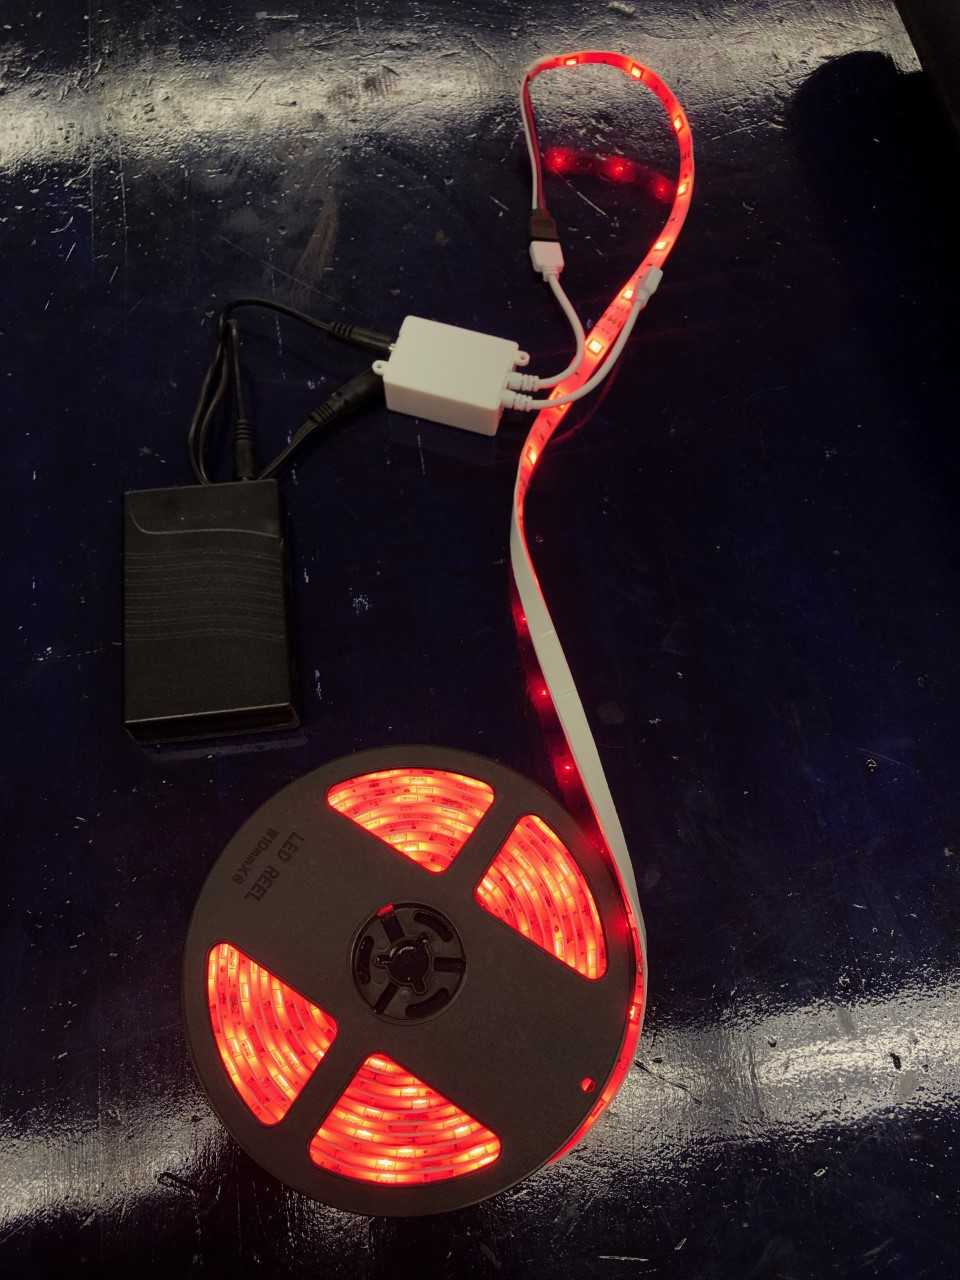
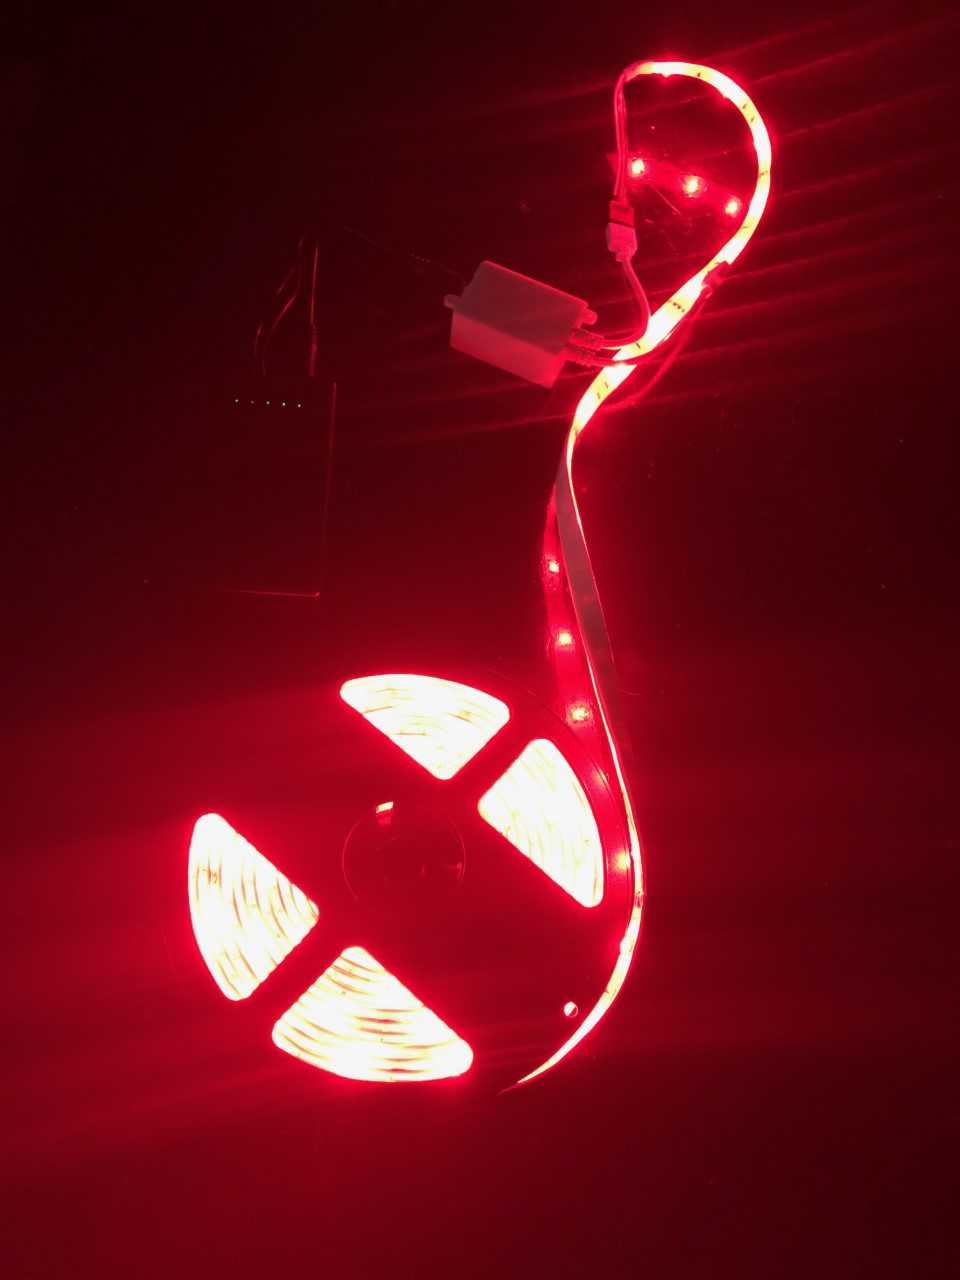
Lighting
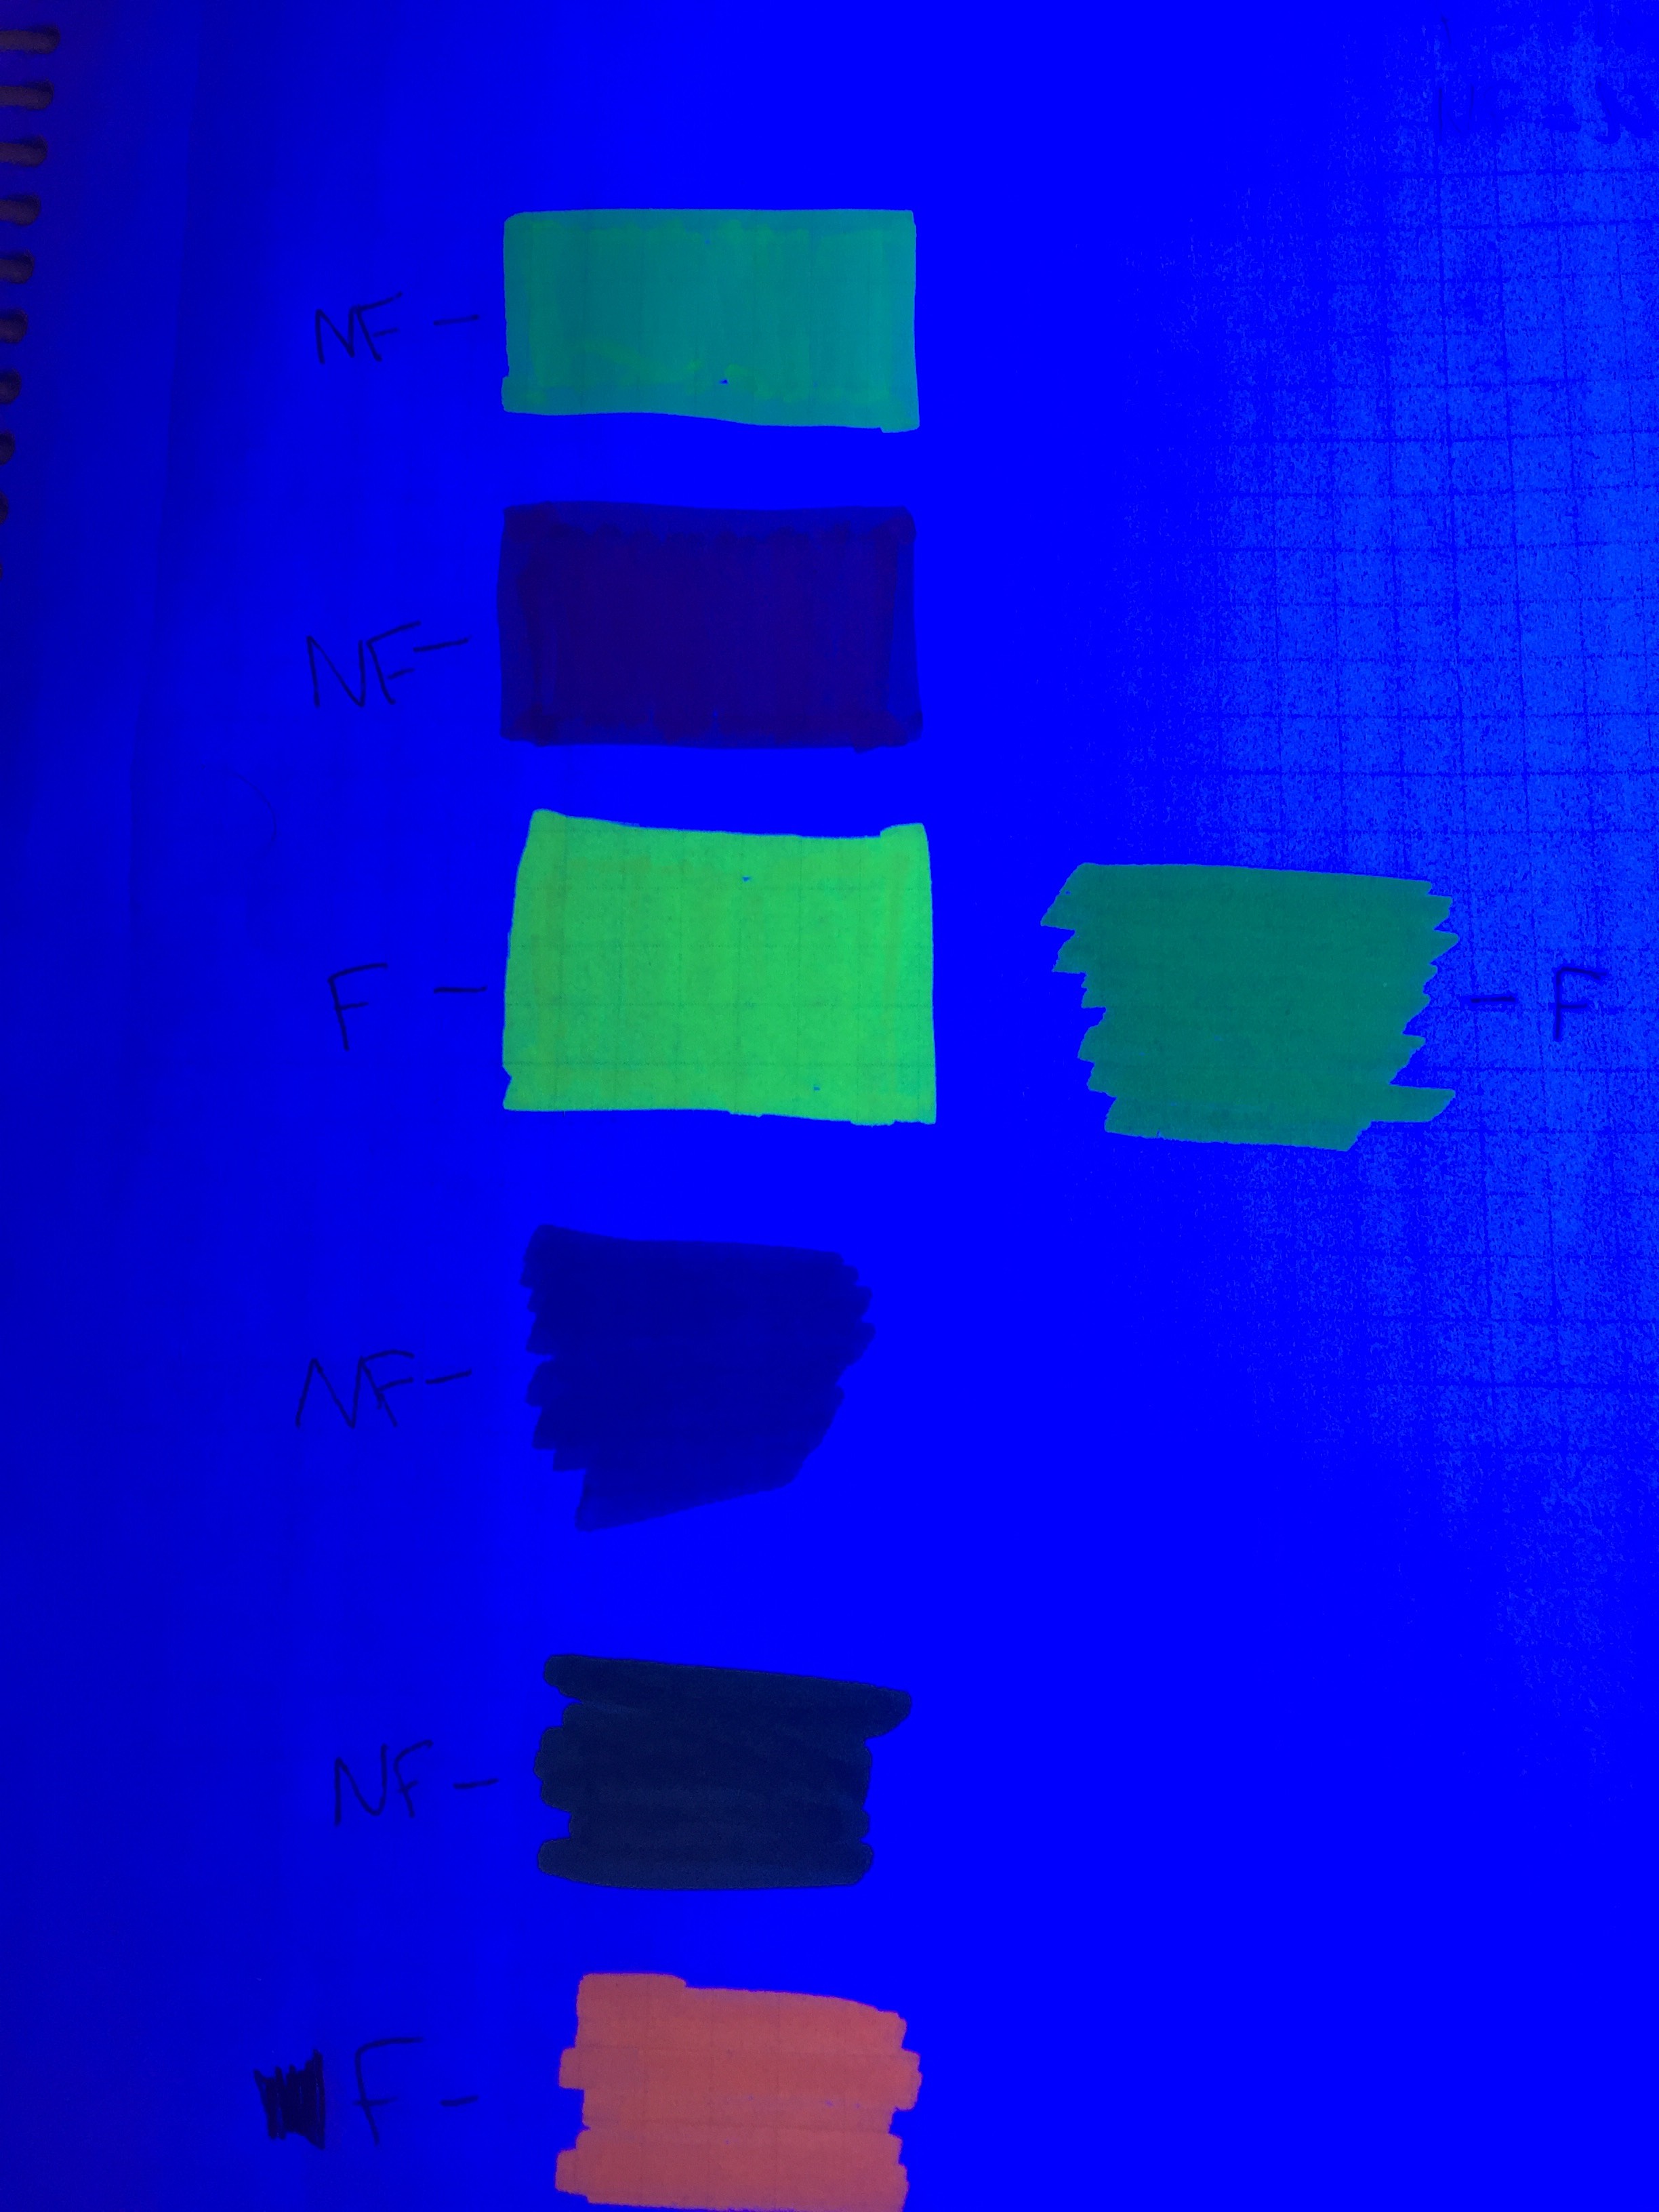
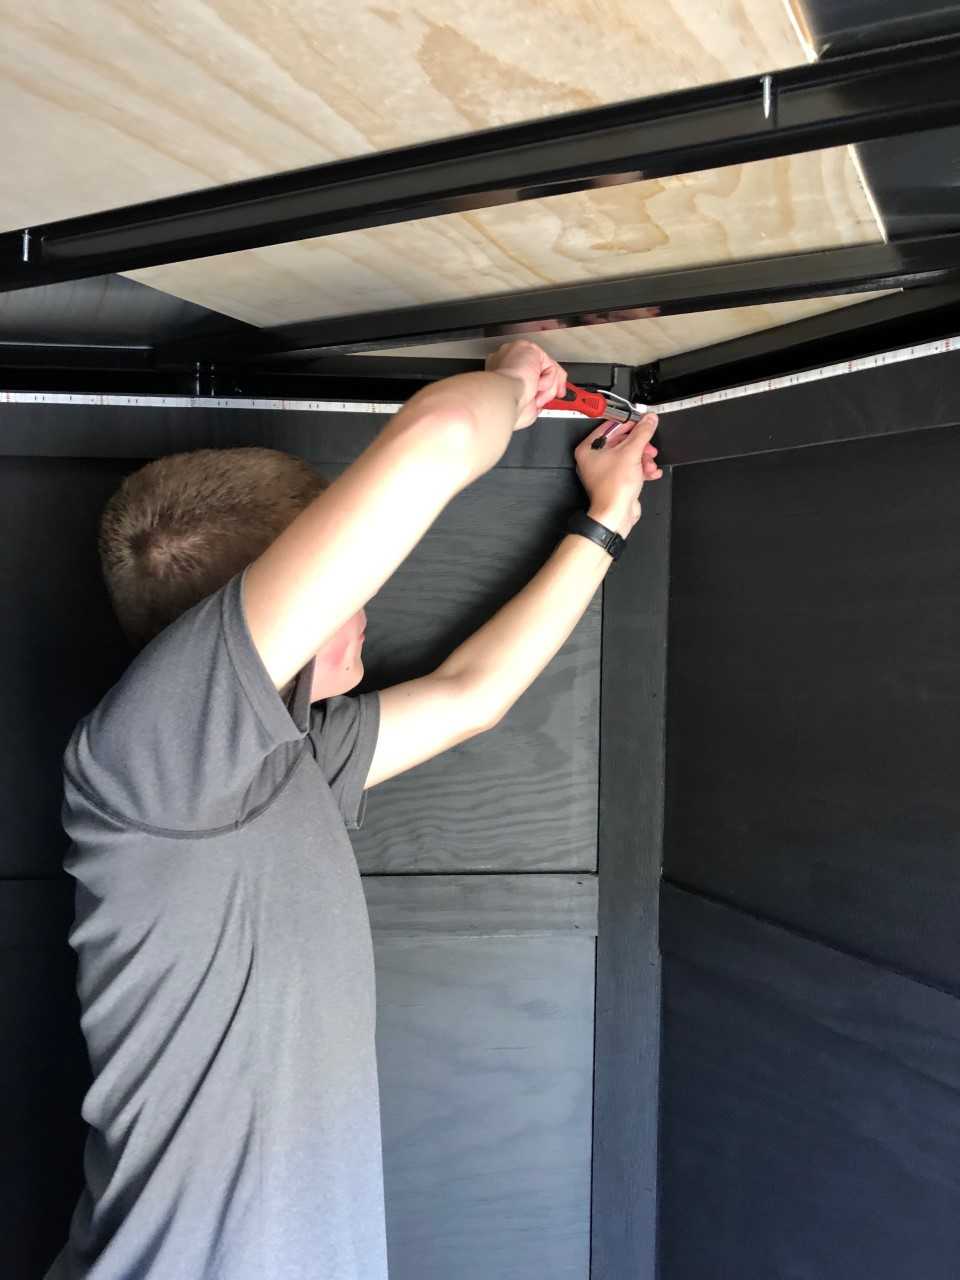
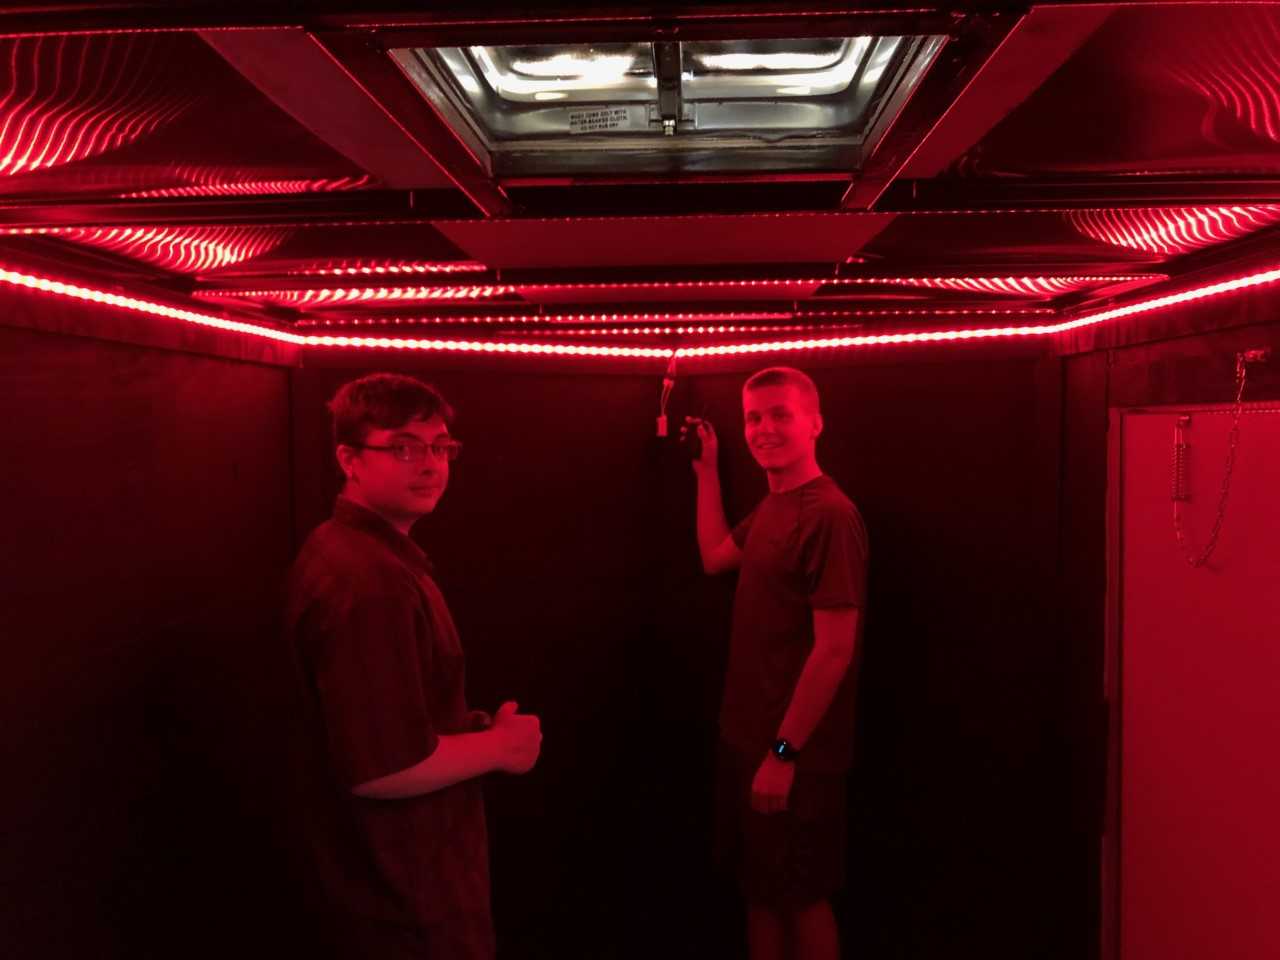
Once the interior of the trailer was light tight, the students needed to find a set of lights they could use so that paper could be developed without getting exposed. They also needed to find a power supply to run the lights, so they would not have to be run off of a car battery. The students decided to use LED strip lights. They determined that the light from the red LEDs did not fog the photographic paper by placing the LEDs a distance of two feet away from the paper and running the lights for 20 minutes. In addition to testing the lights they also had to test the battery packs. We purchased two 12 V, 3000 mAh lithium ion battery packs. The students calculated, based on the reported current draw of the LED strips, that one battery pack could power two ten foot LED strips for three hours. Testing indicated the battery pack could power the strips for two hours and thirty minutes which is more than a sufficient amount of time to develop photos. In addition, the strips can also be set to white light, to allow students to clean up under easy to see conditions. Once the testing was completed, the students mounted the lights in the trailer.
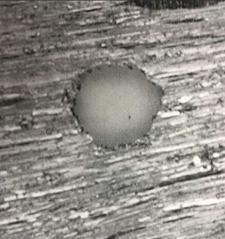
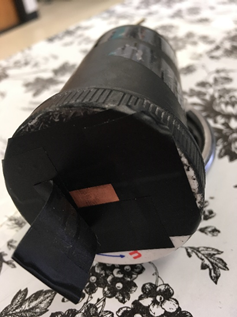
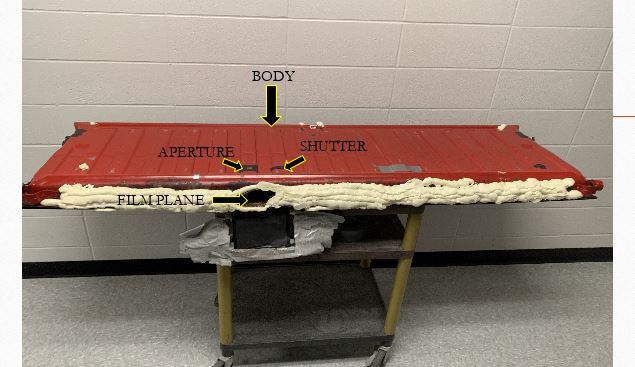
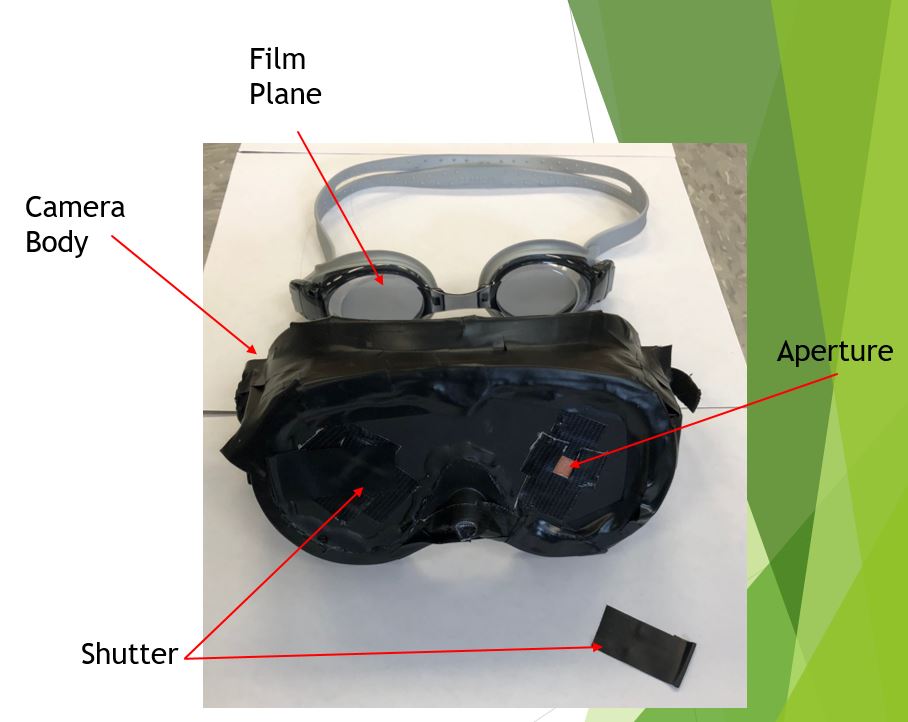
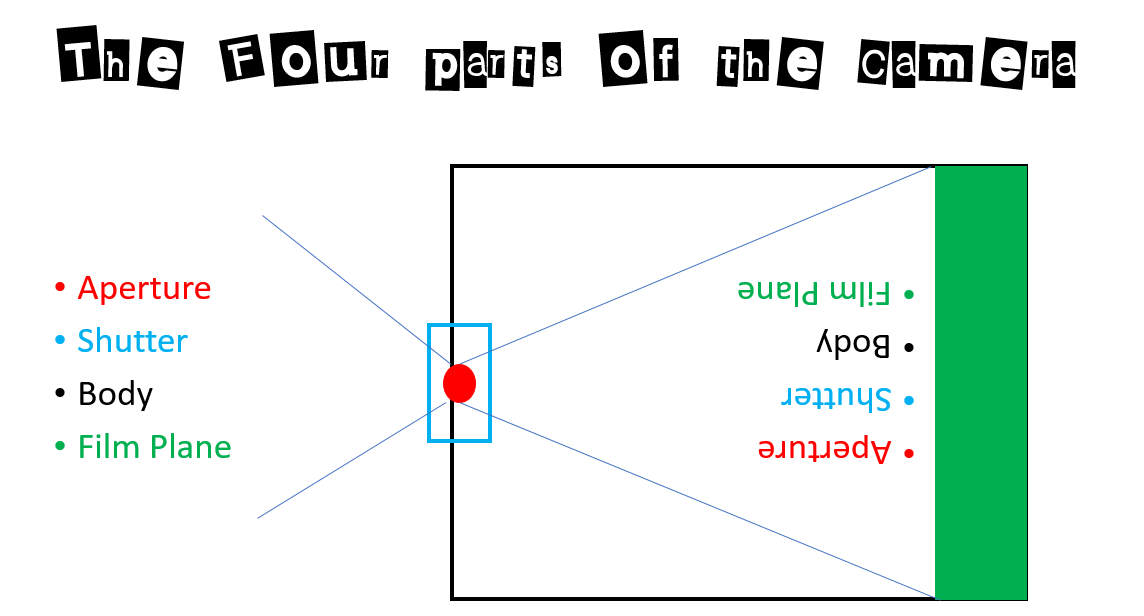
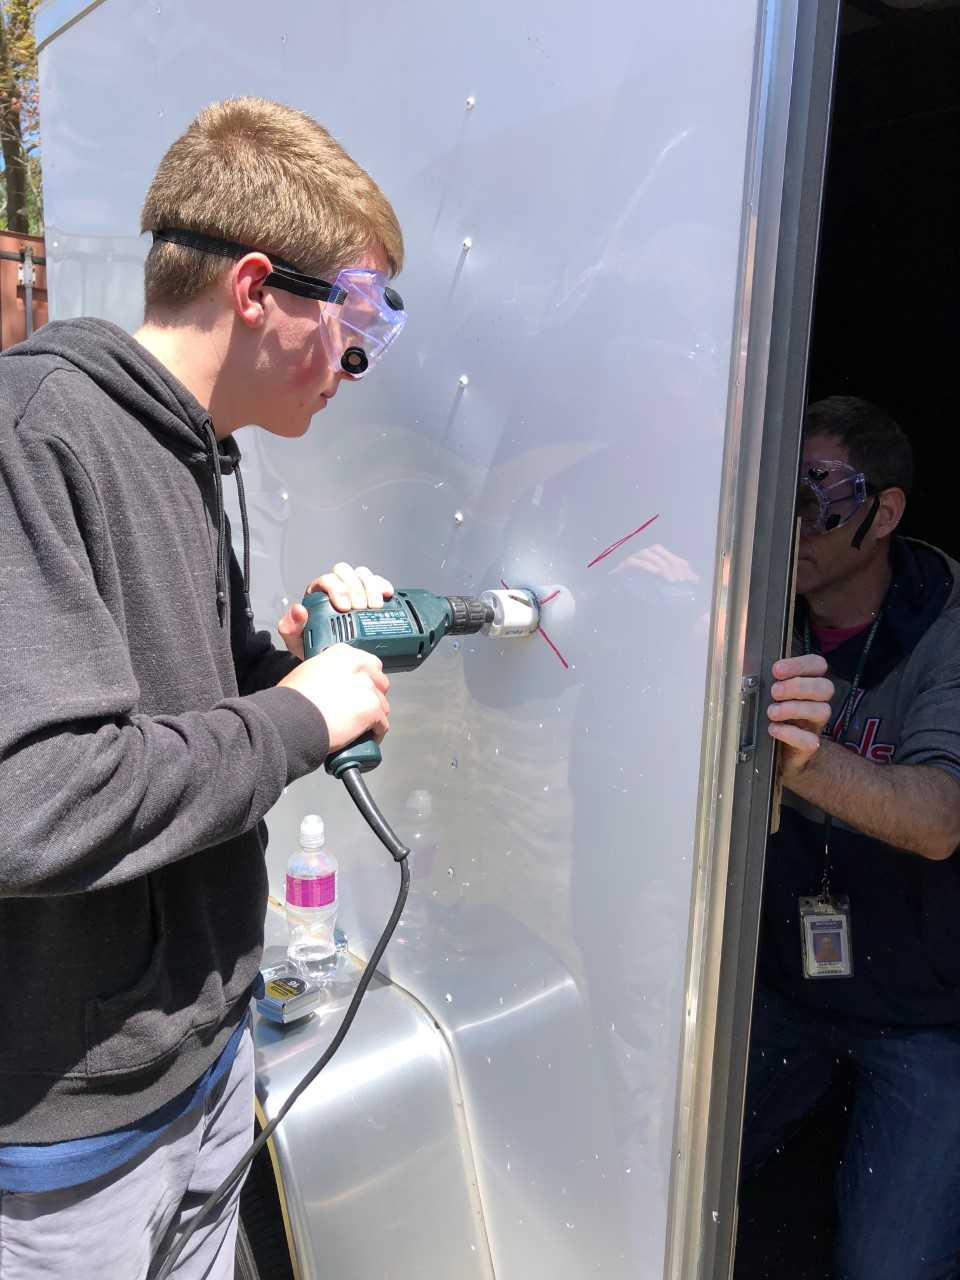
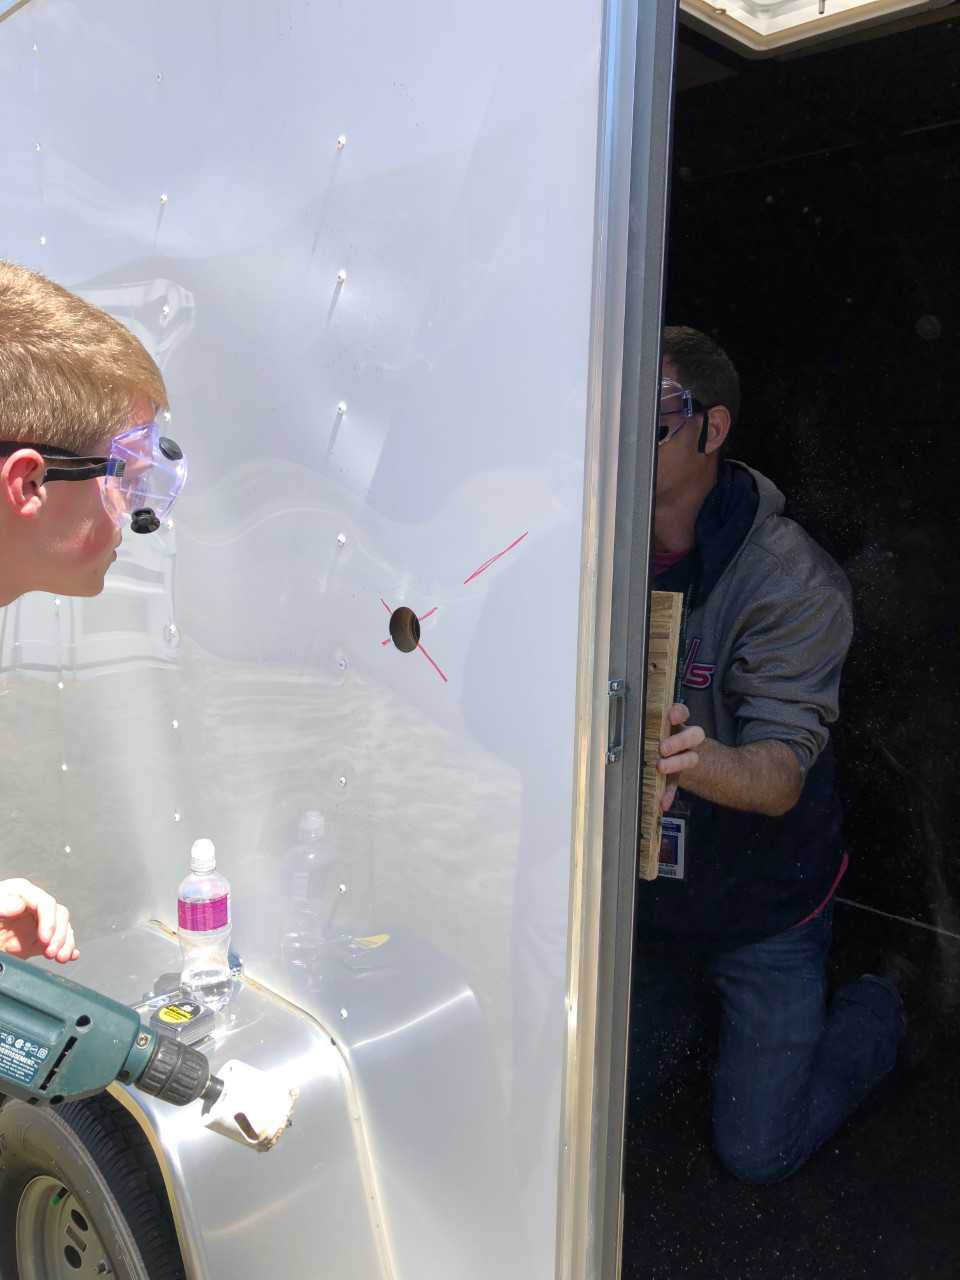
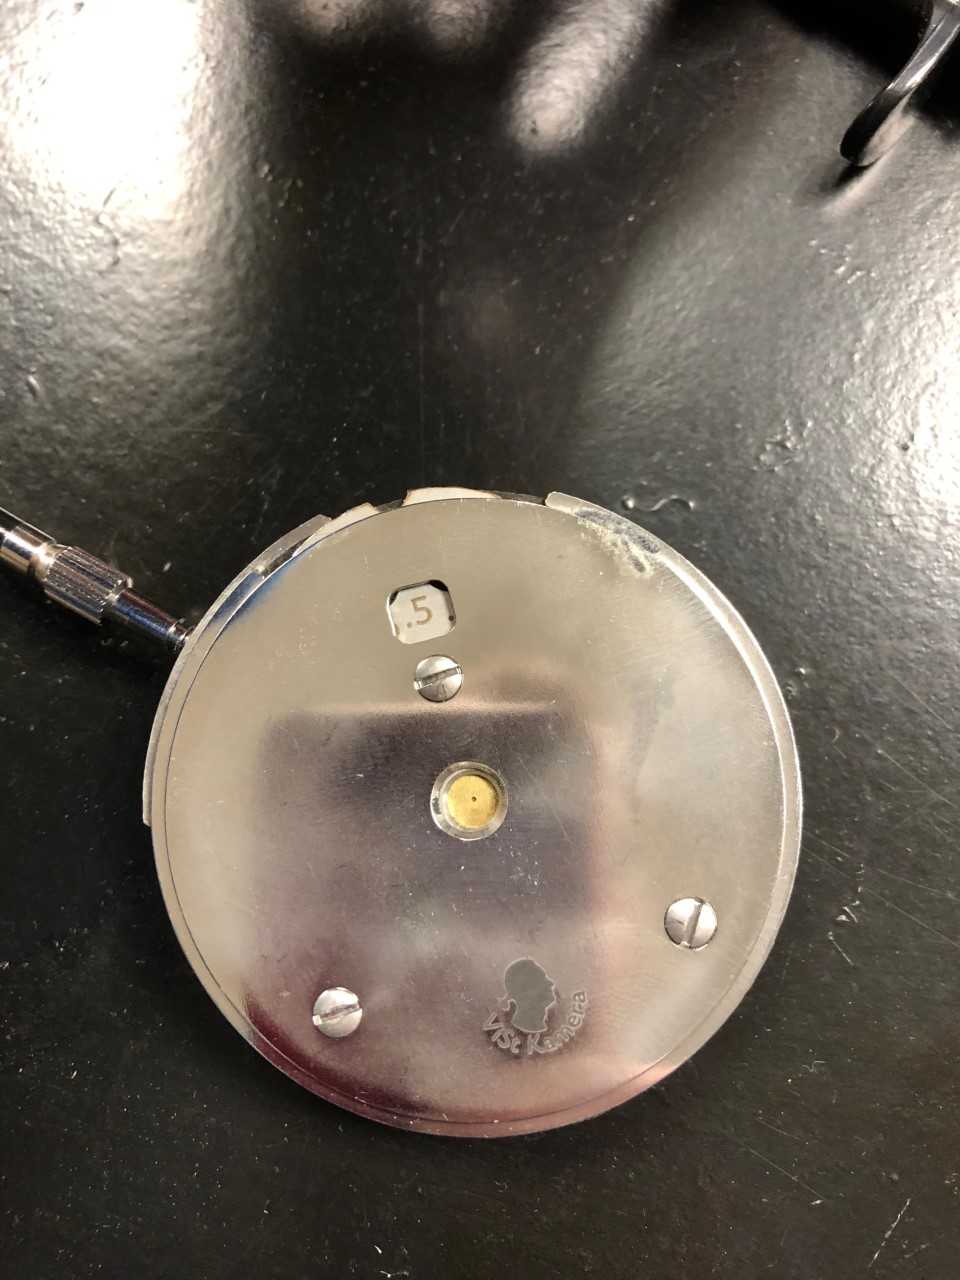
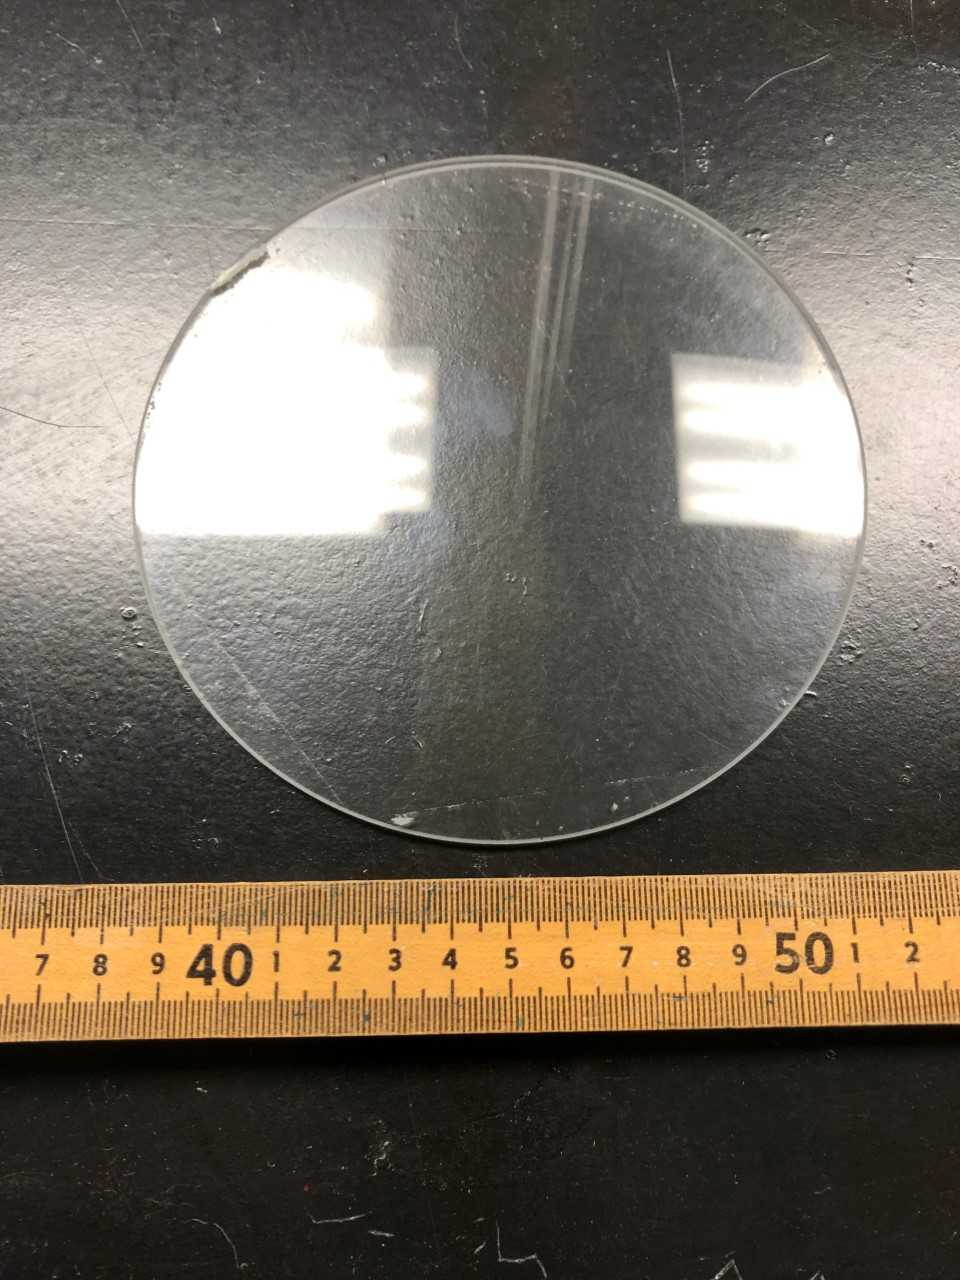
The Aperture
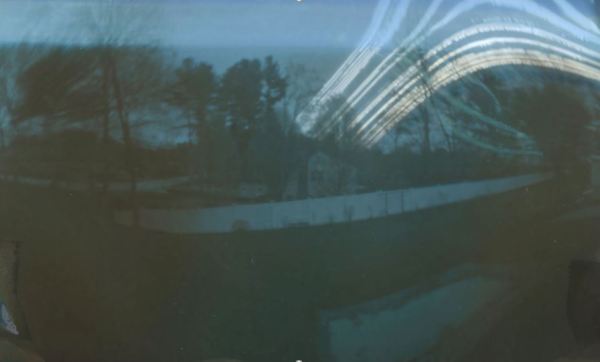
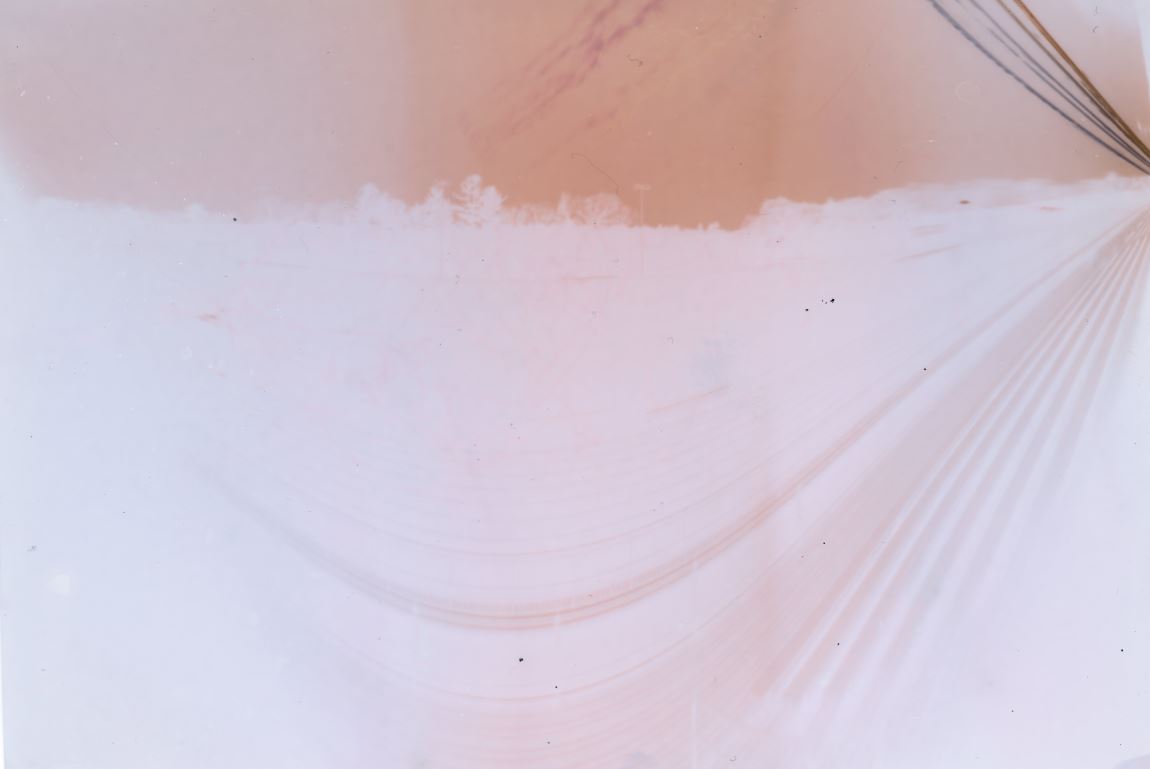
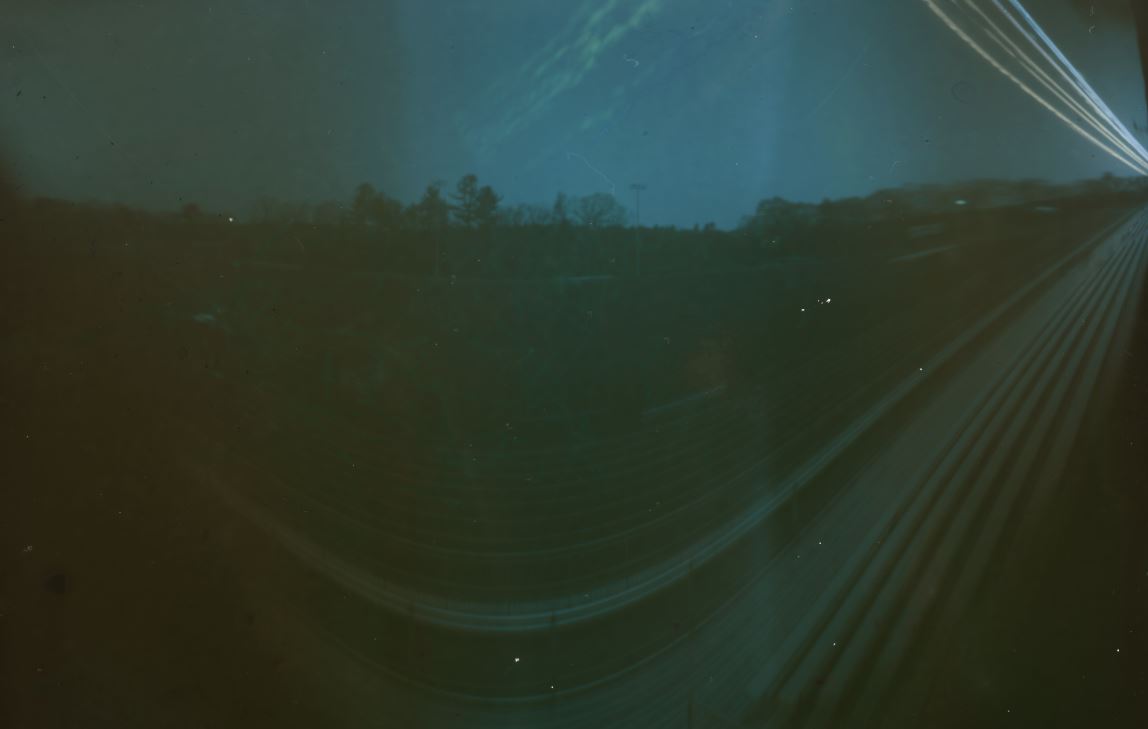
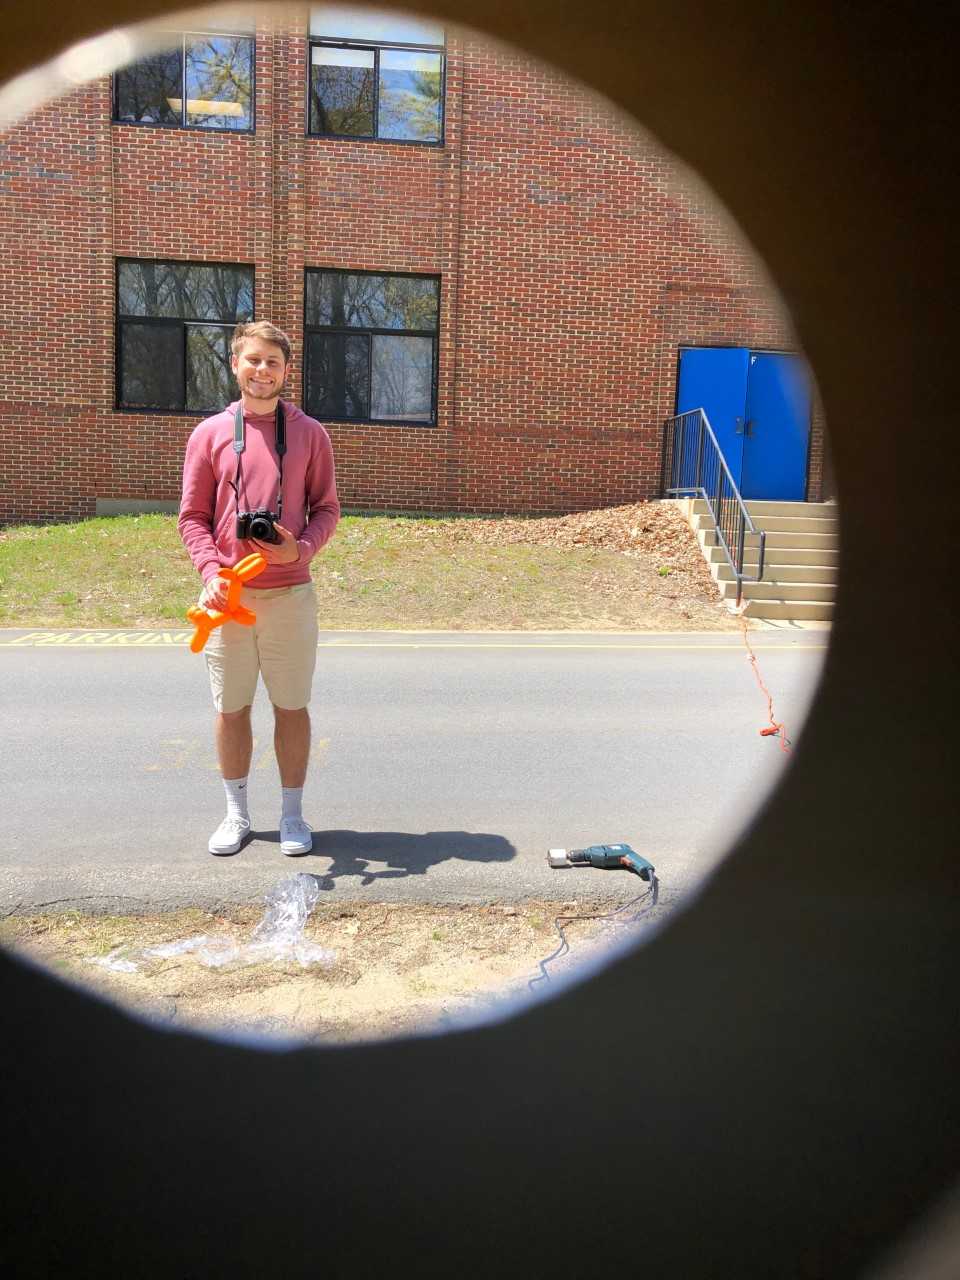
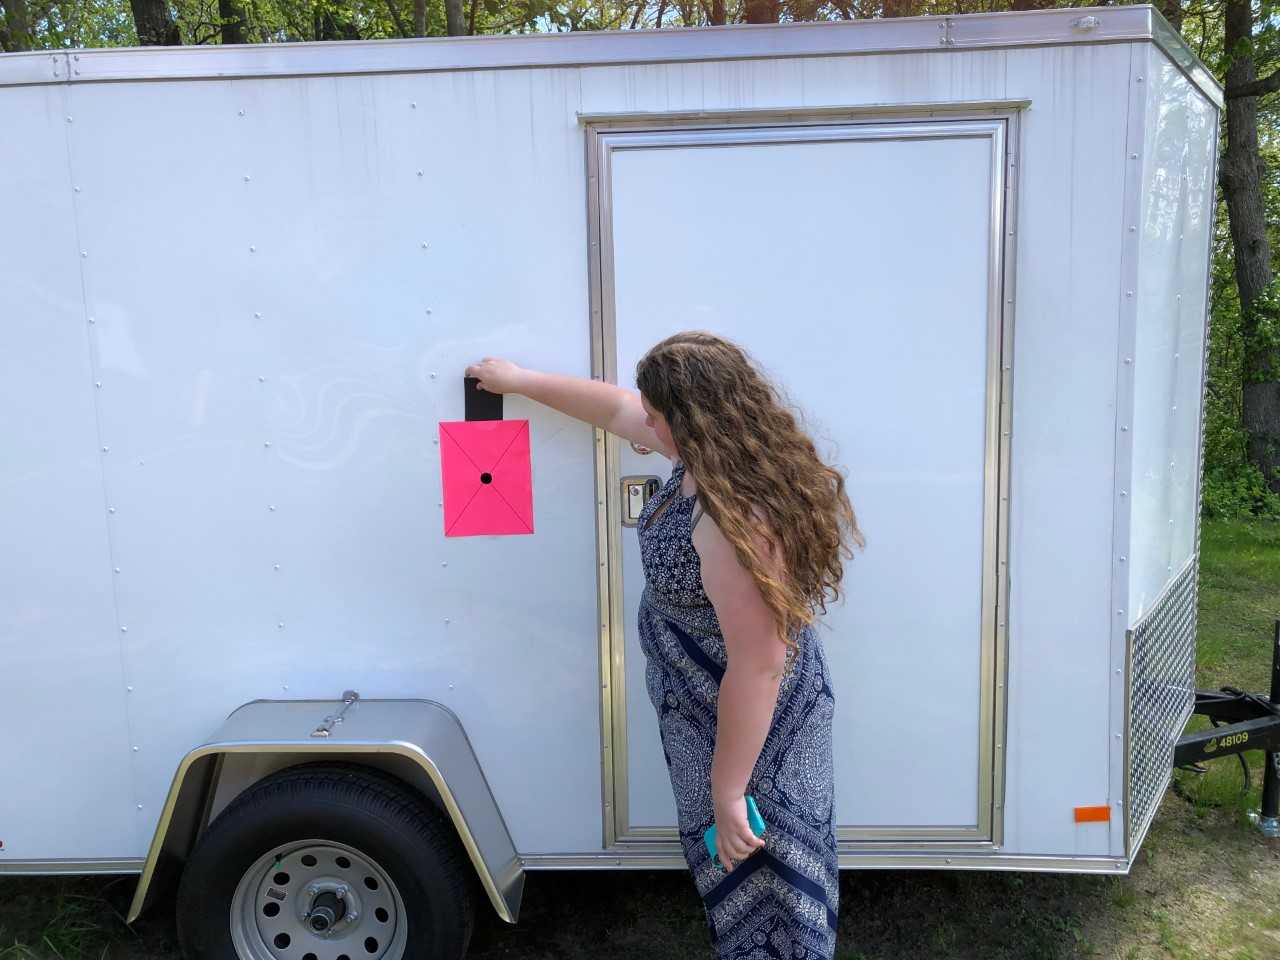
Once the trailer was light safe, and the lighting had been installed, it was time to create an aperture hole. This hole will be larger than the aperture we are planning on using and will allow us to attach a lens board or a waterhouse stop to the trailer. It will also allow us to attach a simple shutter. A three inch in diameter hole saw was used to drill the aperture hole in the side of the trailer. With the aperture hole drilled, a simple cardstock waterhouse stop and shutter can be used to test the trailer.
Next week we will test the trailer’s camera functionality!