
October 3rd, 2018
The past two weeks our students have been working on anthotypes. Anthotypes are photographic images made using plant dyes. A negative is placed over paper painted with a natural dye and is set in the sun to fade. After a number of hours, the image appears on the paper. This type of photographic print was one of the first print process used. Unfortunately, because the dyes are not UV stabilized, the images will gradually fade until they disappear forever.
After learning about solubility, molecular polarity, conjugated double bonds, color, and fading, our students started to extract dyes from plant materials. The plant material was ground up using a mortar and pestle and the dyes were extracted using water and ethanol. The mixtures were then filtered.


Each group extracted dye from six different pigments. The dyes were painted onto water color paper and and allowed to dry. Students also experimented with mixing different dyes and painted them on the paper to test as well. Finally, students extracted plant pigments from fall leaves they collected around the campus.


A test negative of a brick wall was used to test how effectively the dyes faded in the sunlight.
The students repeated the process with a number of synthetic dyes. They also learned that they could could change the color of some natural and synthetic dyes by adjusting the pH of the solution. The students experimented with changing the colors by adding either citric acid to make the solution more acidic or sodium carbonate to make the solution more basic.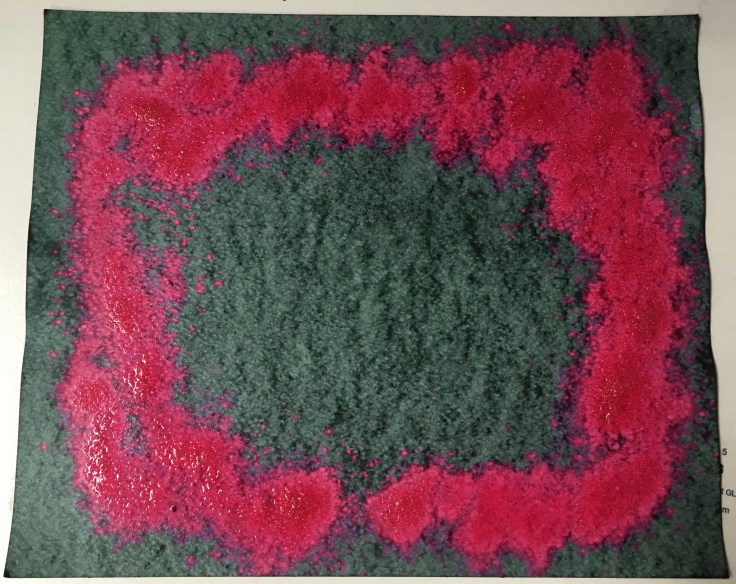
The test pages were taped in the window to expose them to sunlight. Each and every day the UV reading level and weather conditions were recorded in their idea notebooks.
Once the tests were completed each group of students presented their results to the class. They discussed what went well, what did not go well, and what they would change in the future.
After the presentations, the students picked a natural dye and a synthetic dye with which they would use to make their final prints. Once the dyes were selected, they painted them onto pieces of water color paper and left them to dry. While they dried, students learned how to adjust the contrast of their picture in Photoshop. Once their image had sufficient contrast, they printed their digital negative.
The digital negatives were placed on the the treated paper and hung in the window. Currently, we are waiting for the natural dyes to fade. Later this week students will repeat the process with their synthetic dyes.

Leave a comment